Jul 05, 2023
Jul 05, 2023
We're Hiring
Join us and build the next generation AI stack - including silicon, hardware and software - the worldwide standard for AI compute
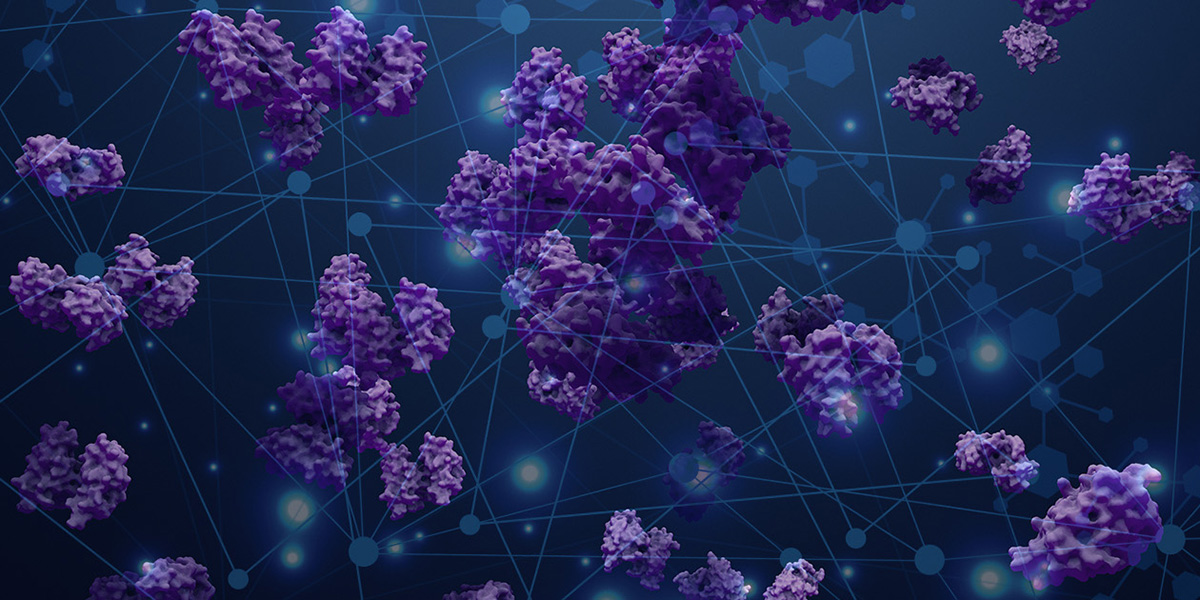
Join our teamGraphium is a high-performance deep learning library specializing in graph representation learning for diverse chemical tasks. Graphium integrates state-of-the-art Graph Neural Network (GNN) architectures and a user-friendly API, enabling the easy construction and training of custom GNN models.
Graphium's distinctive feature is its robust featurization capabilities, enabling the extraction of comprehensive features from molecular structures for a range of applications, including property prediction, virtual screening, and drug discovery.
Applicable to a wide array of chemical tasks like property prediction, toxicity evaluation, molecular generation, and graph regression, Graphium provides efficient tools and models, regardless of whether you're working with simple molecules or intricate chemical graphs.
Read more about Graphium in our launch blog.
In this blog we will walk through running a Paperspace Gradient Notebook that illustrates Graphium's capabilities using the ToyMix dataset, an amalgamation of the QM9, Tox21, and ZINC 12k datasets. We'll delve into the multitask scenario and display how Graphium trains models to concurrently predict multiple properties with chemical awareness.
Domain:Molecules
Tasks: Multitask
Model:GCN/GIN/GINE
Datasets:QM9, Zinc, Tox21
Workflow: Training, validation, inference
Number of IPUs:Recommended: 4x (min: 1x, max 16x)
Execution time:20 mins
In this notebook you will learn how to:
For this notebook, it is best if you are already familiarity with GNNs and PyTorch Geometric.
If you need a quick introduction, we suggest you refer to the Graphcore tutorials for using PyTorch Geometric on the IPU, which cover the basics of GNNs and PyTorch Geometric while introducing you to running models on the IPU.
We install the following dependencies for this notebook:
(This may take 5 - 10 minutes the first time.)
The Paperspace environment lets you run this notebook with no set up. If a problem persists or you want to give us feedback on the content of this notebook, please reach out through our community of developers using Slack or raise a GitHub issue.
Requirements:
Python packages installed with pip install -r ./requirements.txt
The ToyMix dataset is an amalgamation of three widely recognized datasets in the field of machine learning for chemistry:
Each of these datasets contributes different aspects, ensuring a comprehensive benchmarking tool.
QM9, known in the realm of 3D GNNs, provides 19 graph-level quantum properties tied to the energy-minimized 3D conformation of molecules. Given that these molecules have at most nine heavy atoms, it's simpler and enables fast model iterations, much like the larger proposed quantum datasets, but on a smaller scale.
The Tox21 dataset is notable among researchers in machine learning for drug discovery. It is a multi-label classification task with 12 labels, exhibiting a high degree of missing labels and imbalance towards the negative class. This mirrors the characteristics of larger datasets, specifically in terms of sparsity and imbalance, making it invaluable for learning to handle real-world, skewed datasets.
Finally, the ZINC12K dataset is recognized in the study of GNN expressivity, an essential feature for large-scale data performance. It's included in ToyMix with the expectation that successful performance on this task will correlate well with success on larger datasets.
In multi-task learning, related tasks share information with each other during training, leading to a shared representation. This can often improve the model's performance on individual tasks, as information learned from one task can assist with others. Here the ToyMix dataset provides a sandbox to develop these models for molecular tasks.
The ToyMix dataset requires downloading the three datasets. Here we will create the expected data directory and download both the raw dataset CSV files, and the split files to specify training, validation and test splits.
.png?width=737&height=464&name=ToyMix%20(1).png)
The representation of the datasets above shows that QM9 and ZINC are densely populated datasets with regression tasks and each label provided for each molecule. We also see that the Tox21 dataset is sparsely populated with binary labels. The relative sizes of these datasets is important. QM9 is approximately 10x larger than the other datasets, and so we would expect it to dominate the training.
It is interesting to note the differences in the datasets, where the molecules are from fairly different domains in terms of their sizes and composition. Additionally, the quantum properties of molecules calculated using DFT is a very different type of property compared to results obtained from a wet lab, particularly in the content of complex systems.
To get a sense of the dataset overlap, a Uniform Manifold Approximation and Projection (UMAP) is shown below. Here we can see the 2D projection of the molecule similarity, with the purple QM9 results being largely separate from the Tox21 and ZINC results.
The question now is: how much can the large dataset of quantum properties be used to improve the prediction power of smaller datasets?
This approach of using a larger dataset to improve predictions for smaller datasets has yielded impressive results in the world of large language models, but it is unknown whether the same can be done with molecules.
.png?width=557&height=553&name=UMAP%20(1).png)
The Graphium model is made up of the following components:
This is shown in the flowchart below.
.png?width=1251&height=341&name=flowchart%20(1).png)
The available configs are shown in the cell below, you can swap between them easily by uncommenting the desired line. The first set show the full multitask training on the ToyMix dataset for the three GNN architectures.
The final two configs show the same GCN model trained on only the QM9 and Zinc datasets.
The Graphium library is designed to be used with a config file. This tutorial contains three examples (GCN, GIN, and GINE models) for training on the multitask ToyMix dataset.
The configs are split into groups, with the key options in accelerator, datamodule, archtecture, predictor, metrics and trainer. It is recommended to have a look at the files to see how the model is structured.
For some parameters, it makes more sense to set them in the notebook or via the command line arguments. You can also set these values by hand in the notebook, as shown below.
(--predictor.torch_scheduler_kwargs.max_num_epochs=200 will set the number of epochs).
In the cell below, we can set the number of replicas to speed up training. The default value is 4, but if you are using a POD 16, we can increase the replica count for a significantly faster training.
We can also set the number of epochs and learning rate. For the number of epochs, the yaml config file has been loaded into a dict, so we can't rely on the anchor and reference system in the YAML config file to keep parameters in sync, so this is done manually here.
Let's change the path to our datasets to get the data from where it is stored.
Shown here for simplicity - for testing you can change the values here / add other parameters When building a full training script it is recommended to use either the config file or the command line to set values.
First build the predictor - this is the model, look at the printed summary to see the layer types and number of parameters.
Then build the trainer - which controls the actual training loop.
Now we can start training the model. The training is handled with PyTorch Lightning making it simple to set up the training loop.
This will set up the training loop after calculating the maximum number of nodes and edges in the batch. We use fixed size batches on the IPU so we need to add some padding to account for variable molecule sizes before we compile the model.
The training is displayed in a progress bar.
Exercise for the reader: We currently only run training for 10 epochs to illustrate training the model and so you can see the validation and test output format. Try increasingthe number of epochs for better results. Using around 30 epochs should give results ~95% of the performance of the model trained for a full 300 epochs.
Finally we can look at the validation and test dataset splits, where the trained model is loaded from the checkpoint and evaluated against the hold out sets.
We have demonstrated how you can use Graphium for multitask molecular modelling on the IPU. We used the ToyMix dataset, which combines the QM9, Tox21, and ZINC 12k datasets to show how Graphium trains models to concurrently predict multiple properties with chemical awareness.
Looking at the validation and test results we can see the impact of the larger QM9 dataset in improving the single task performance of the smaller datasets. The accuracy and MAE scores are much better than we would expect just from training on the small datasets, confirming the training benefit from a multitask setting even on a very short training run. To further verify this we can look at the same model trained for the full number of epochs on the multitask dataset and the individual datasets and compare the final validation results.
You can try out the following:
config_small_gcn_qm9.yaml) and ZINC 12k (config_small_gcn_zinc.yaml) datasets are given.molfeat notebook pytorch_geometric_molfeat.ipynbShare: